1. Introduction to Crab Brulee Recipe
1.1 What is Crab Brulee?
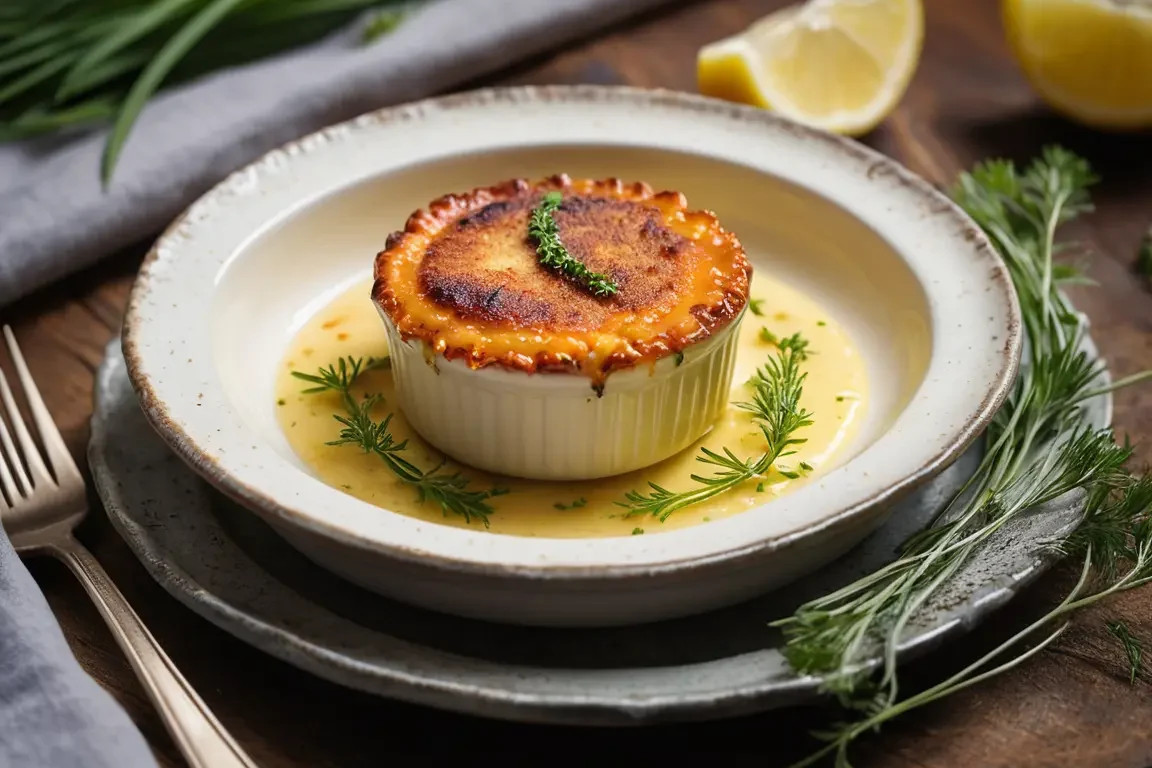
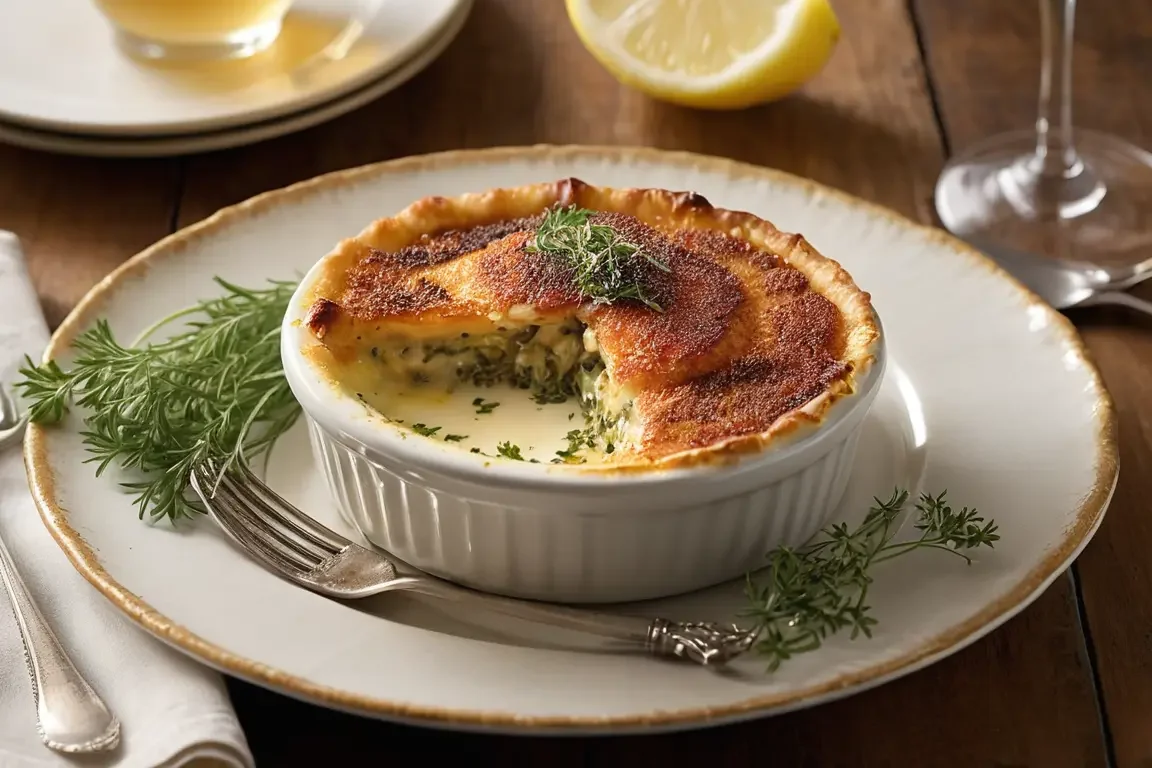
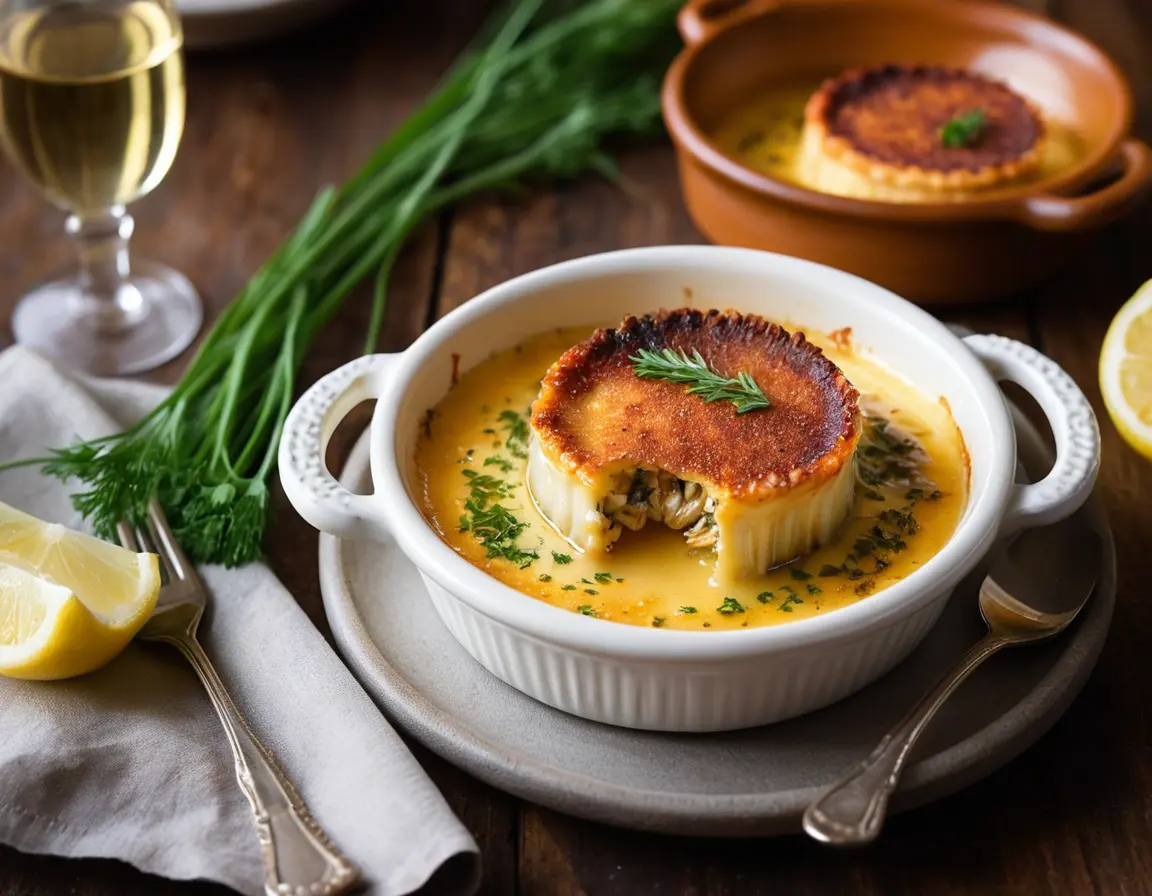
Crab Brulee recipe is a delightful twist on the classic dessert, crème brûlée, but instead of sweet cream, we use rich, flavorful crab meat. Imagine the perfect balance of the sea’s bounty topped with a crispy, caramelized sugar shell. This dish combines the elegance of seafood with a gourmet touch that makes it ideal for special occasions or a cozy night in.
1.2 The Origins of Crab Brulee Recipe
Crab Brulee draws inspiration from French culinary traditions, particularly the beloved crème brûlée. While its exact origins remain unclear, the idea of infusing savory ingredients into a traditionally sweet dish has gained popularity in modern gastronomy. Chefs have embraced this innovative approach, showcasing how versatile and exciting seafood can be in unexpected formats.
1.3 Why Crab Brulee is a Must-Try Dish
If you’re a fan of seafood or a lover of unique culinary experiences, Crab Brulee is a must-try. Not only does it deliver an explosion of flavors, but it also offers an impressive presentation that’s sure to wow your dinner guests. Plus, the combination of creamy crab filling topped with a crunchy caramelized layer is simply irresistible!

2. Ingredients Needed for Crab Brulee Recipe
2.1 Main Ingredients: Crab and Dairy
- Fresh Crab Meat: Depending on your preference, you can use lump crab or claw meat for a sweet flavor and creamy texture.
- Heavy Cream: Essential for creating that luxurious filling.
- Egg Yolks: These provide richness and help set the mixture.
- Granulated Sugar: For both the filling and the crusty topping.
2.2 Optional Ingredients for Flavor Enhancement
- Chives or Green Onions: Finely chopped for a hint of freshness.
- Lemon Zest: Adds a lovely citrus note that brightens the dish.
- Seasoning: Salt and freshly cracked black pepper to taste.
2.3 Tools and Equipment Required
- Ramekins: Individual serving dishes for baking.
- Whisk: For blending ingredients smoothly.
- Mixing Bowl: To combine your crab and cream mixture.
- Kitchen Torch: To achieve that perfect caramelized crust (if you don’t have one, you can use your oven’s broiler).
3. Step-by-Step Preparation
3.1 Selecting the Right Crab
Choosing the right crab is crucial. Look for fresh, high-quality crab meat from sources you trust. If you’re at a seafood market, ask about the day’s catch. If you prefer convenience, use lump crabmeat from a can or vacuum-sealed pack, ensuring it’s packed in water or its own juices for freshness.
3.2 Preparing the Crab for Cooking
Once you have your crab, gently pick through it to remove any shell pieces. Be cautious and take your time; after all, you want your guests to enjoy their dish without crunching on unexpected bits!
3.3 Making the Cream Mixture
In a mixing bowl, whisk together the heavy cream, egg yolks, and granulated sugar until well combined. Stir in your chosen optional ingredients. This mixture should be smooth and creamy, perfect for enveloping your succulent crab meat.

4. Cooking Process for Crab Brulee Recipe
4.1 Setting Up the Cooking Environment
Preheat your oven to 325°F (160°C). While the oven is warming up, place your ramekins in a baking dish that can be filled with hot water for a water bath. This gentle cooking method helps maintain the creaminess of the crab brulee.
4.2 Baking the Crab Brulee
Divide your crab mixture evenly among the ramekins. Pour hot water into the baking dish, filling it halfway up the sides of the ramekins. This creates a steamy environment, resulting in a smooth texture. Bake for about 30-35 minutes or until the edges are set but the center remains slightly wobbly.
4.3 Achieving the Perfect Caramelization
After baking, let the ramekins cool completely, then chill in the refrigerator for at least two hours. When ready to serve, sprinkle a thin, even layer of granulated sugar on top of each brulee. Using a kitchen torch, gently caramelize the sugar until it’s golden and crispy. If you don’t have a torch, broil them in the oven for just a few minutes, but watch closely to avoid burning!
5. Serving and Pairing Suggestions
5.1 Plating the Crab Brulee Recipe
For a beautiful presentation, place the ramekins on a stylish serving platter. Consider garnishing with microgreens or edible flowers for a touch of elegance. Serve immediately while the sugar crust is warm and crunchy.
5.2 Recommended Accompaniments
Crab Brulee pairs beautifully with a light, crisp salad or roasted vegetables. The freshness balances the richness of the brulee and adds a lovely touch of color to your plate.
5.3 Beverage Pairings
Sip on a chilled Chardonnay or a light-bodied Pinot Grigio to complement the flavors of the crab. If you prefer a non-alcoholic option, a sparkling water with a twist of lemon can provide a refreshing contrast.
Conclusion
- Summary of Key Steps: Start by selecting fresh crab, then create a rich cream mixture before baking in a water bath. Once set, caramelize the top to create that signature crunchy finish.
- Final Thoughts on Crab Brulee: This dish is a testament to culinary creativity, blending tradition with innovation. So, gather your ingredients, embrace the process, and enjoy each delicious bite of this extraordinary Crab Brulee!
Frequently Asked Questions (FAQs)
1. Can I use frozen crab for this recipe?
Absolutely! Thaw it completely and drain any excess moisture before using it in your Crab Brulee. It’s a convenient option that can still yield delicious results.
2. How do I store leftover Crab Brulee?
Cover the ramekins tightly with plastic wrap or transfer the brulee to an airtight container. Store them in the refrigerator for up to 2 days. Just be sure to re-caramelize the sugar before serving to restore that satisfying crunch.
3. Can I make Crab Brulee ahead of time?
Definitely! You can prepare the crab mixture the day before and bake it when you’re ready. Just remember to chill it well for at least two hours before caramelizing the sugar when serving.

